Clarity leather steering wheel upgrade
For the 2019 Clarity, there was not really any critical features I missed in the Touring trim over the Base trim:


- Remote conditioning: actually this is available in the base trim!
- Navigation: CarPlay and Android Auto renders this moot
- Leather seats: The seats are partially leather trimmed so this didn't make a huge difference for our family
The last feature was a leather heated steering wheel. I thought I wouldn't miss this but coming from a car that had this feature, the urethane steering wheel was not tolerable. While the heating component seemed like too much of a DIY project, I went ahead and replaced the stock steering wheel with a leather steering wheel (from the 10th gen civic: 78501-TBA-A21ZA will have black stitching and 78501-TBA-A21ZD will have red stitching). Thanks to chris5168 on insideevsforum.com for leading the way!
Here is the step by step:
0. Unplug the battery if you are worried about the airbag removal. Make sure you unplug the negative terminal first, then the positive. (And the positive first when you are reattaching).
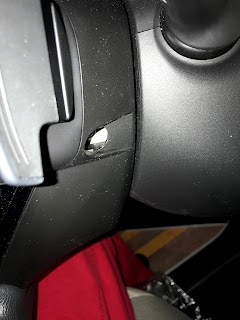
1. Remove the airbag. Behind each paddle shifter is a screw that needs a T30 torx bit. The airbag will fall out. There is a color coded gray tab and green connectors as well as a ground connector. Pull up on the white bits on each and pull them up, a little force is needed. The ground should also come out, there is a tiny metal tab you can push to make it come out more easily.

2. Remove the steering lug screw. You will need a 10mm bit. This is the tricky part if you don't have the right tools, and you really have two options: a) impact wrench or b) 1/2" drive socket wrench and a metal pipe. I went with option (b) because the pipe was only $3 at the hardware store.
💡TIP: After you get the steering lug screw off, center your steering wheel before you remove it. It will make lining it back up much easier.

3. Remove steering wheel and the white connector.

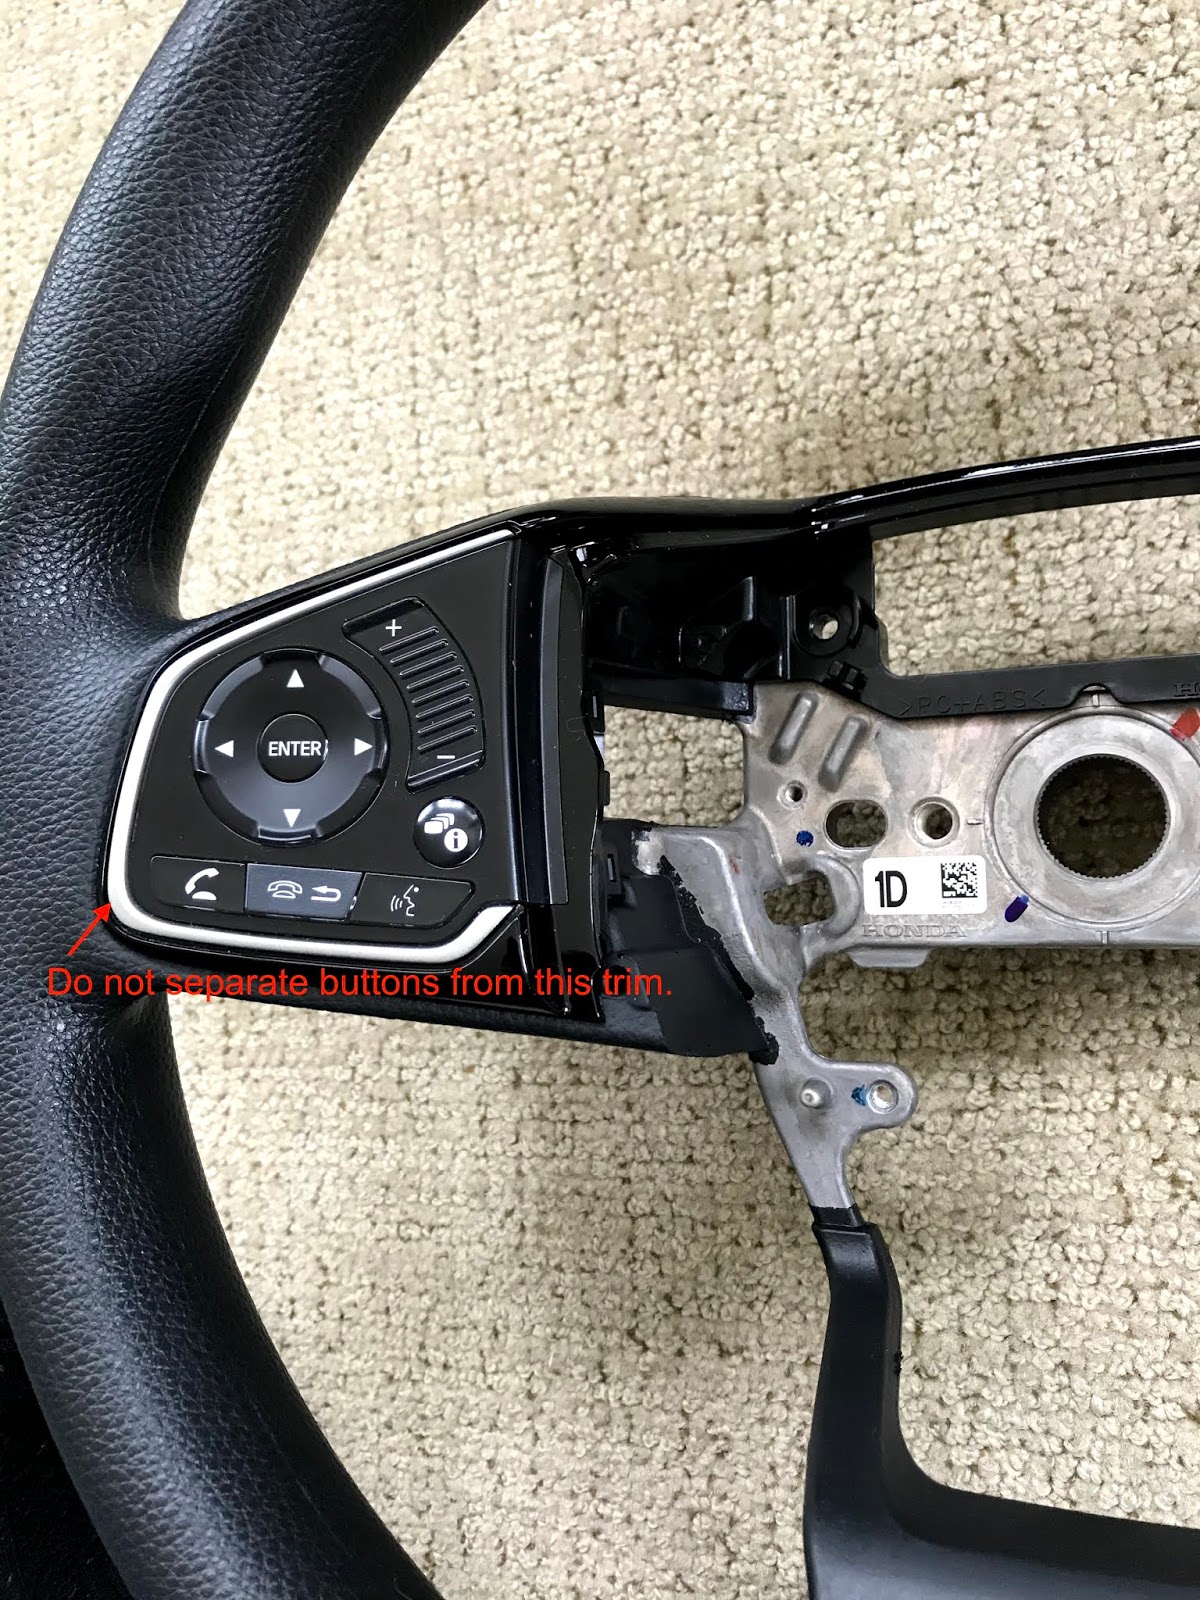
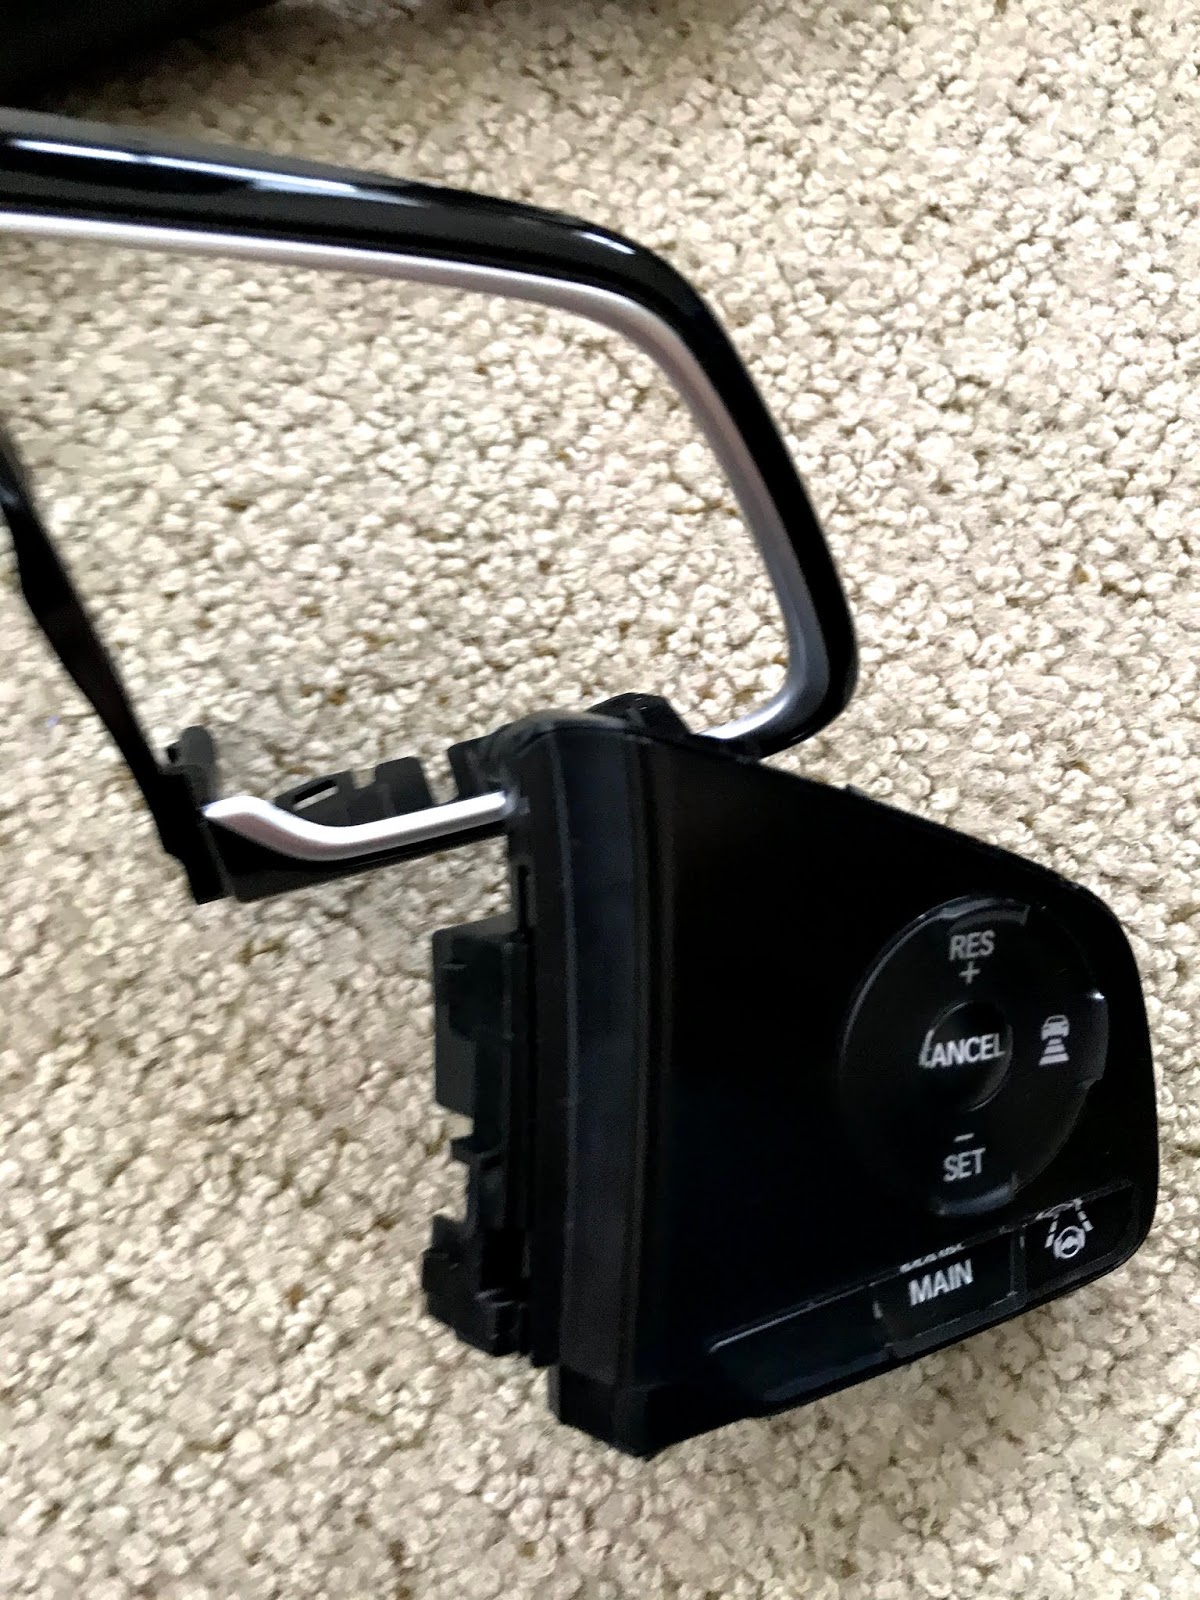
4. Transfer the buttons and all the trim. This was the most time consuming part (1 hour). Make sure you have a plastic pry tool to be able to get this out. The best order to remove the pieces are:
- the bottom trim with the wood
- the back plastic
- the buttons and surrounding trim
- the paddle shifters

💡TIP: I referenced this clip a lot, however, DO NOT try to remove the trim piece from the buttons!!! The trim is attached to the button with like 10 clips and is very difficult to separate while it is stuck on the steering wheel. I found it much easier to remove the trim piece and the buttons together at the same time, working slowly to pull it up.
💡TIP: The Clarity has paddle shifters, so you wont be able to push the buttons out from the back. Prying only, sorry!

💡TIP: Once the trim and the buttons are out, THEN separate the trim and the buttons. Work only the buttons back into the leather steering wheel, making sure it is fitted very well because there is a lot of leather there. Once the buttons are in, push the trim in, some force is needed since the spacing is tight with the leather.
💡TIP: There are two screws that doesn't fit for the bottom brown wood trim. They aren't necessary since it is clipped down. If you are dying for the screws, I believe the Honda part is 93913-24410.
5. Put the steering wheel back. Honda did a good job and marked the lug screw with the wheel so you know how much to tighten it (see the red marking in step 2). I marked up the leather wheel in the same spot so it would be tightened with the same torque.
6. Replug everything in reverse.

Good luck!
Comments
Post a Comment